Saturday, September 10, 2011

New Life for an Old Dresser


I bought this dresser at an unfinished furniture store back many moon ago when my kids were little, and it lived through a lot while they were growing up.  For instance, my oldest daughter, she-who-must-not-be-named, (Theresa)  had this terrible desire to write her name on things with crayon, or sometimes with marker.  Being a very intelligent girl, she figured out that writing her OWN name would get her into a lot of trouble, and she didn't really want to get her brother or her sisters into that much trouble either, so the name of her cousin Amy Fassett was found on the backs and sometimes the fronts of our furniture.  She figured I would never do anything to Amy, so she got away with it.  I didn't know for years that it was Theresa that did it.  Apparently she struck at least once at her Grandmother's house, too.

Anyway,  I didn't take pictures before I started working on it, but I have some from in the middle.  We added that decorative piece on the back and put the little curly things on there, and then added a board on top that I would cover with vinyl.  This is before the stain.


Some close ups of the curlies.  I don't know the technical term, sorry.


And a very nice artsy shot by Emily of the brads I nailed all along the edge of the vinyl on the top. 


The great thing about these knobs was that they were only $2 apiece, which was awesome because I needed 16 of them.


Finished product again, at it's new home in Colorado with Emily.  Sorry, Amy, but I sanded your name off.


Sunday, July 31, 2011

Bigger and Better Spring Wall Hanging

I am always really flattered when someone likes something I have made enough to want one for themselves, so when my friend Robin Dowell asked me if I would make her a lap blanket with the same pattern as the Spring Wall Hanging I did in my last post, of course I said I would.  She went and picked out a fabric packet that she liked, and I put it together.


A little closer.


Ladybug and Butterfly.


And the quilting.  I learned how to free-hand these big flowers and butterflies.  I have to say I am pretty impressed with the butterflies.  I have always thought of myself as an artistic person who just can't draw ANYTHING, but I seem to do OK with a sewing machine.


And then I fill in with a lot of loopdies.  Really a lot of loopdies.


I quilted the appliqued flowers, butterflies, ladybugs, and the bee separately.  I think it makes them kind of stand out. Sorry I can't figure out how to rotate the picture.


And the last part is a little label. Ta-da!! All done.

Monday, June 6, 2011

Spring Wall Hanging

This is a little bit cuter than what I normally do, but I really like it. Like, take a look at these little guys.  Adorable, I don't care who you are.


And the quilting... I'm not sure if you can tell, but the flowers are orange and the loops are yellow.

Punkety-Punk likes it well enough.  At least I think she does.  I can't really decipher that look on her face.

Saturday, April 23, 2011

Eco-Bags

One of the things I tend to make a lot of lately is re-usable grocery bags.  I just love them.  Including the ones that I am showing you today, I have probably made 19 or 20 of them. ( Hear that, Brittony?  Get out your dang machine. )  They can really be used as anything from a regular tote to a lunch bag. And they fold up into about the size of a checkbook wallet when you are not using them.
We have a friend who is getting married soon, and she asked me if I could make her some eco-bags that she could give as gifts to her bridesmaids.  What a great idea.!  She left the fabric selection up to me, so I got all of these fabrics off of the clearance rack at the quilt shop in Wylie.  I think they are just beautiful.  The pictures really don't do them justice.  
Here are close-ups of a couple:

You unfold them-
And then they look like this:


One more close-up. This fabric is just too cute.
Now they are on their way to Colorado Springs. Ta-da!!

Wednesday, April 13, 2011

A Beautiful New Fence

So, for the last few weeks, we have been building a new fence in our backyard.  This picture has nothing to do with it, but it is a nice little picture of part of my garden.  Can you smell that Stargazer Lily?  You could if you were here.  It's a little potent.  This is how the actual fence building process went.

Step 1:  A door to nowhere.  This is the temporary gate to keep the pups in a small area of the yard while we are working.
Step 2:  Pups in Prison.  Self explanatory.  They were very bad, and had to be dealt with.  Not really.  They didn't mind it at all.


Step 3:  No more old fence.  You just don't realize how protected your fence makes you feel until you take it down.  Especially when the dogs need to go out in the middle of the night, and you are sitting there in your pajamas, thinking about all the crazy mass murderers who could be standing right there in the alley plotting your demise, whom you cannot see AT ALL because it is very dark out there, and you don't have a fence.  But the bonus is that the neighbors who have lived next door to you for 12 years but have never actually spoken to you before, may actually acknowledge your existence with a hello.  Just the one time though.  Fence up, brief camaradarie over.


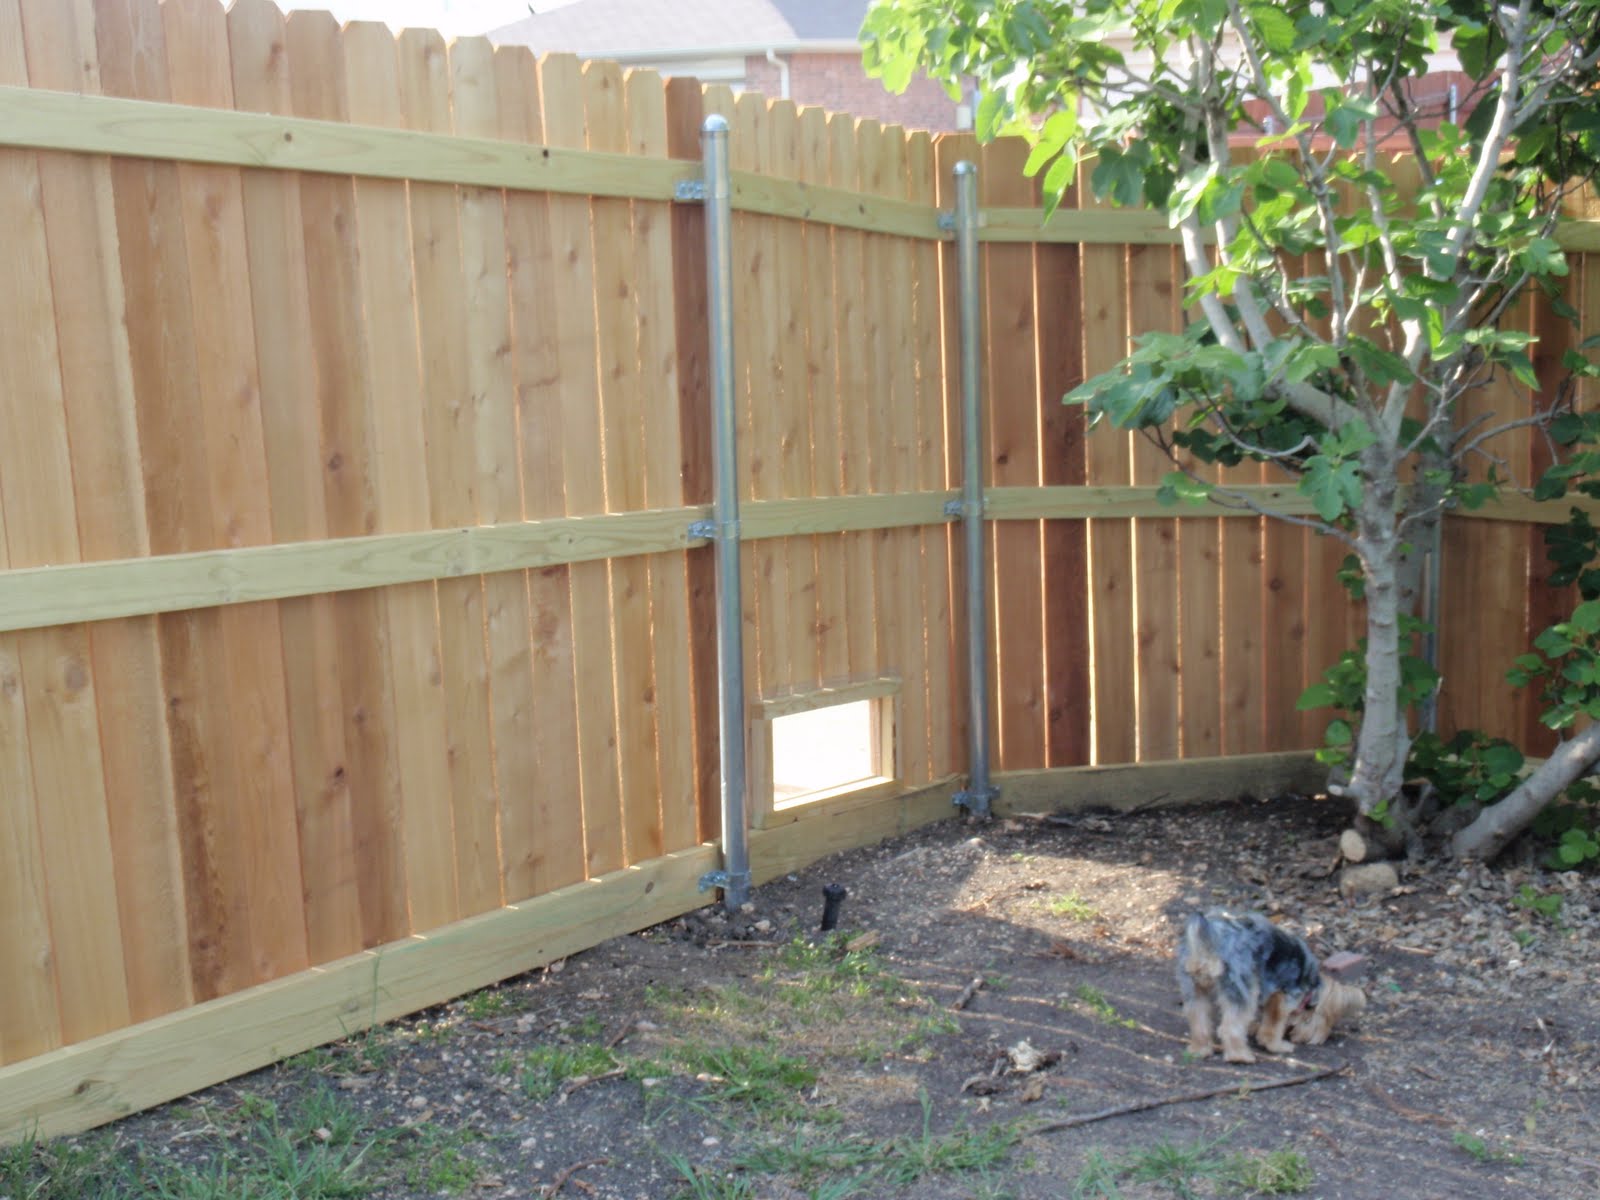
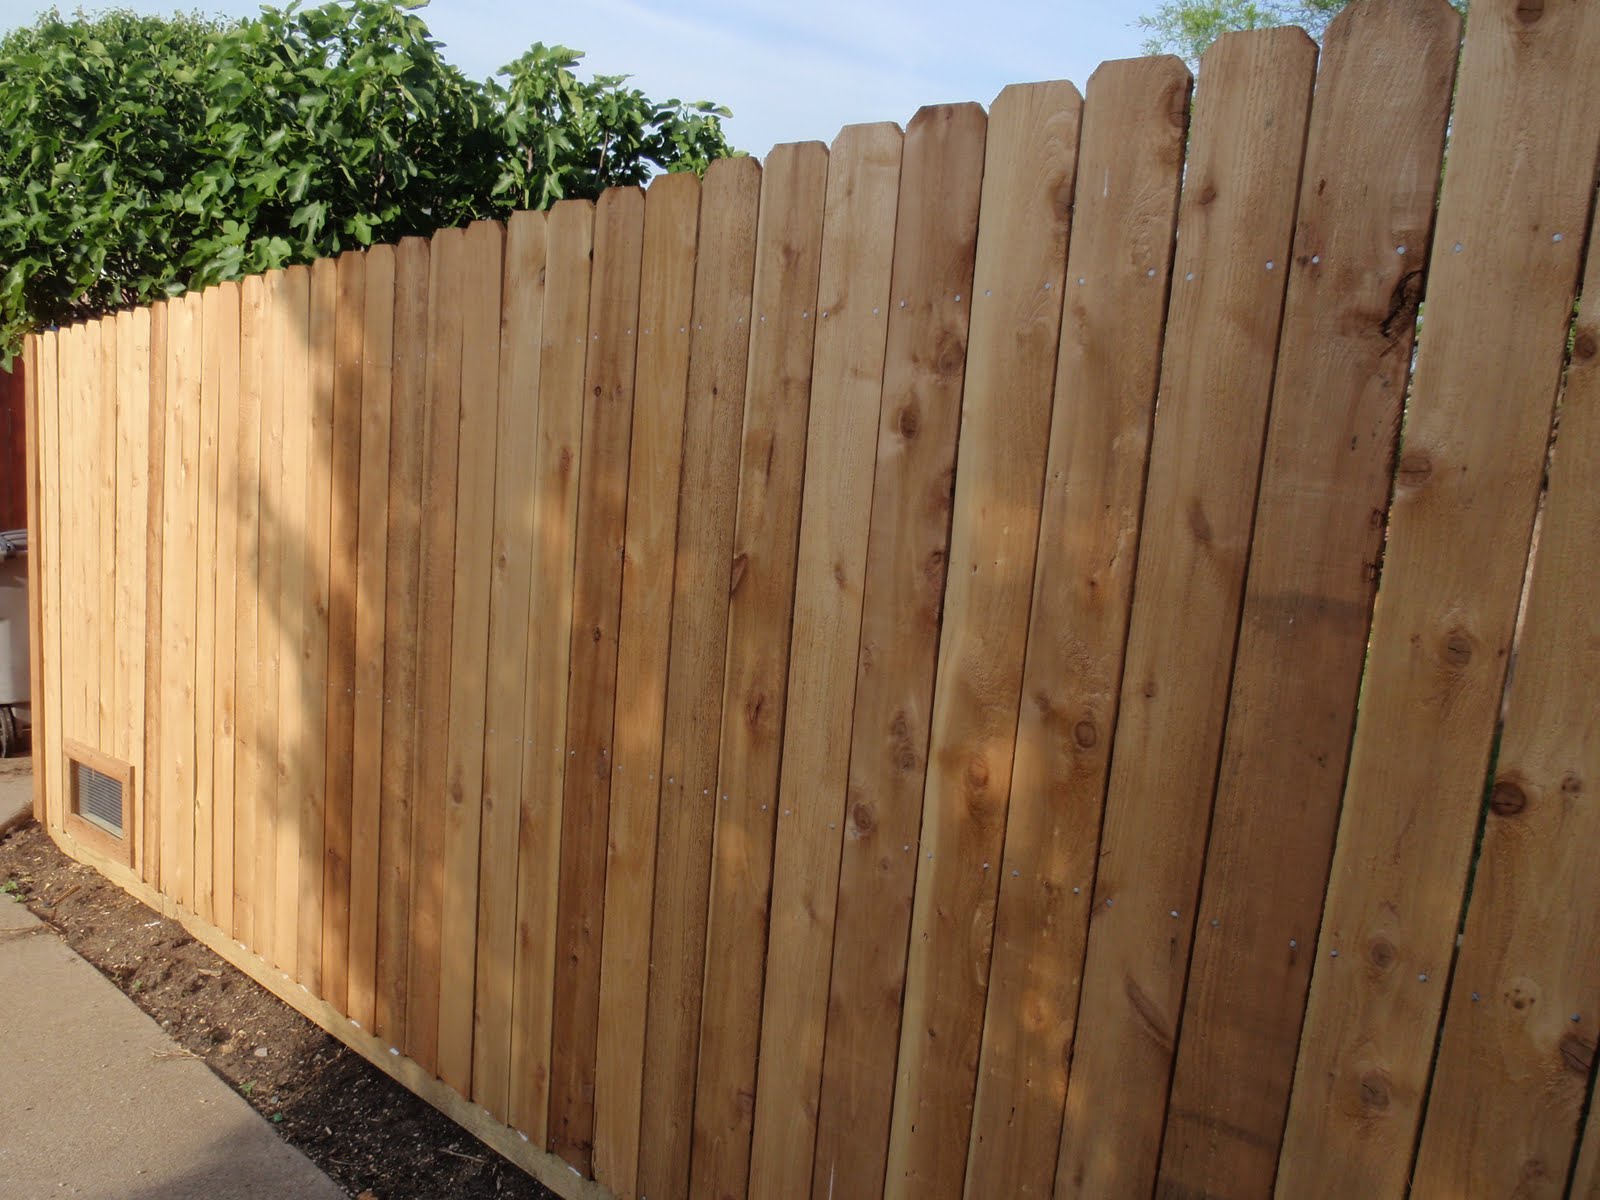
Step 4:  Ta-dum!!  New fence.  It actually took a while,  but only a few days.  Maybe about a week.


I nailed every nail in this section.  So, unfortunately, it must also have been me who forgot to put any nails in the bottom of one of the boards. Oops.


And the puppies' favorite part, a window just for them.  Now they can annoy the neighbors all they want. It's OK, 'cause we aren't friends anymore anyway. ;)


.

Sunday, March 27, 2011

Glasses Cases

Tonight I made a couple of glasses cases, one for myself and one for Theresa.  But she doesn't know about it yet.  It is a secret. She doesn't read my blog. They started out like this:

Then I did the quilting.  Diagonal lines on Theresa's (which by the way is almost identical to one I made for Sarah last week.)
And straight line quilting on mine.  Mine matches the pillow I made to put behind my back in my car.
Then I sewed on the binding and added velcro, and they were done.  Not very much trouble,  but a lot of cuteness.